
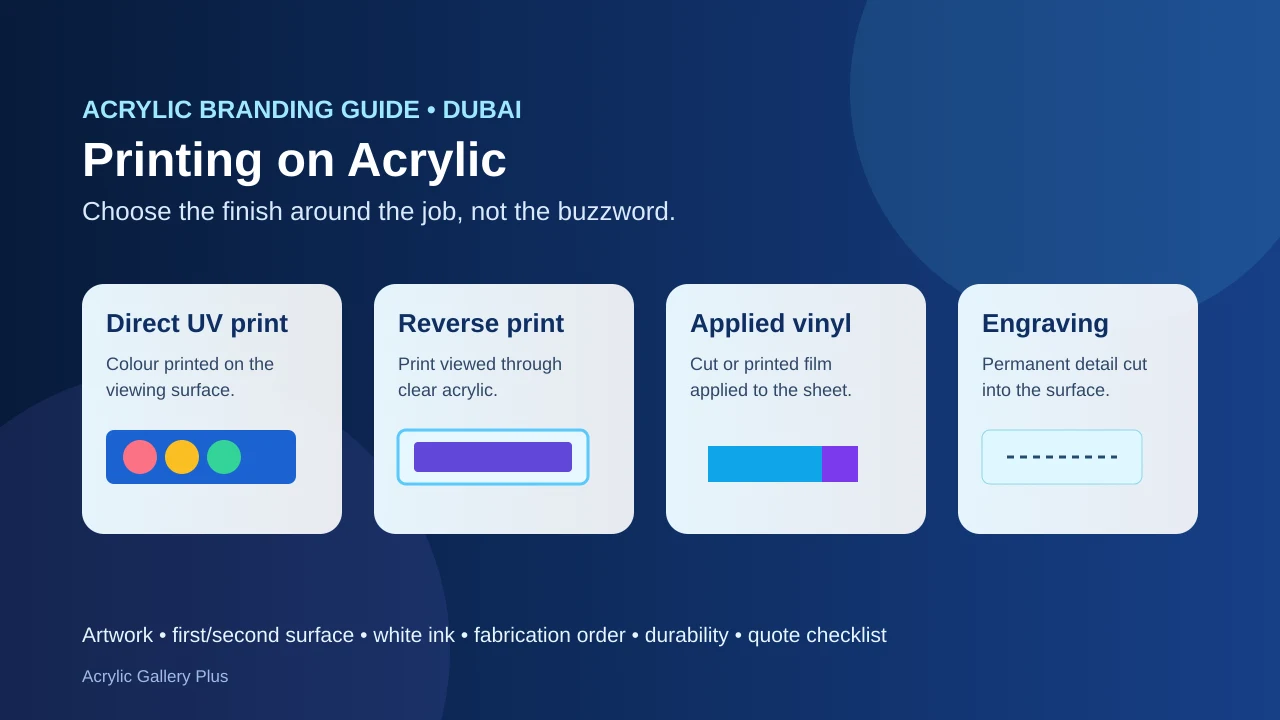
Acrylic is used for signs, retail displays, product stands, boxes, menu holders, cosmetic displays and office branding because a clear or coloured sheet can also carry graphics. The difficulty is that “printing on acrylic” can describe very different processes. A direct print, a reverse print, a vinyl graphic and an engraved logo may all look similar in a screen visual but behave differently once the piece is cut, bent, cleaned or handled.
Use this page when the artwork is ready but the production method is not. Acrylic Gallery Plus works with printed, engraved and applied branding requirements across fabricated acrylic products; the exact method for a job should be confirmed in the approved quotation. No ink, film, acrylic grade or printer behaves exactly the same.
Five ways to put graphics on acrylic—and what changes between them
| Method | Best when | Watch for |
|---|---|---|
| Direct digital / UV print | Full-colour graphics need to appear directly on the acrylic face | Ink adhesion, scratch exposure, white ink, fabrication after printing |
| Reverse / second-surface print | Artwork should be viewed through clear acrylic | Mirrored artwork, print order, white backing and colour appearance through the sheet |
| Applied vinyl graphic | Text, logos or campaign graphics may need replacement | Film grade, edge lifting, surface preparation, cleaning and outdoor exposure |
| Laser engraving | Permanent text, lines, logos or identification are needed | Engraving contrast, acrylic type, depth and the absence of full-colour output |
| Printed insert behind acrylic | The message changes often and the acrylic acts as the holder or cover | Access, glare, print size, replacement method and dust between layers |
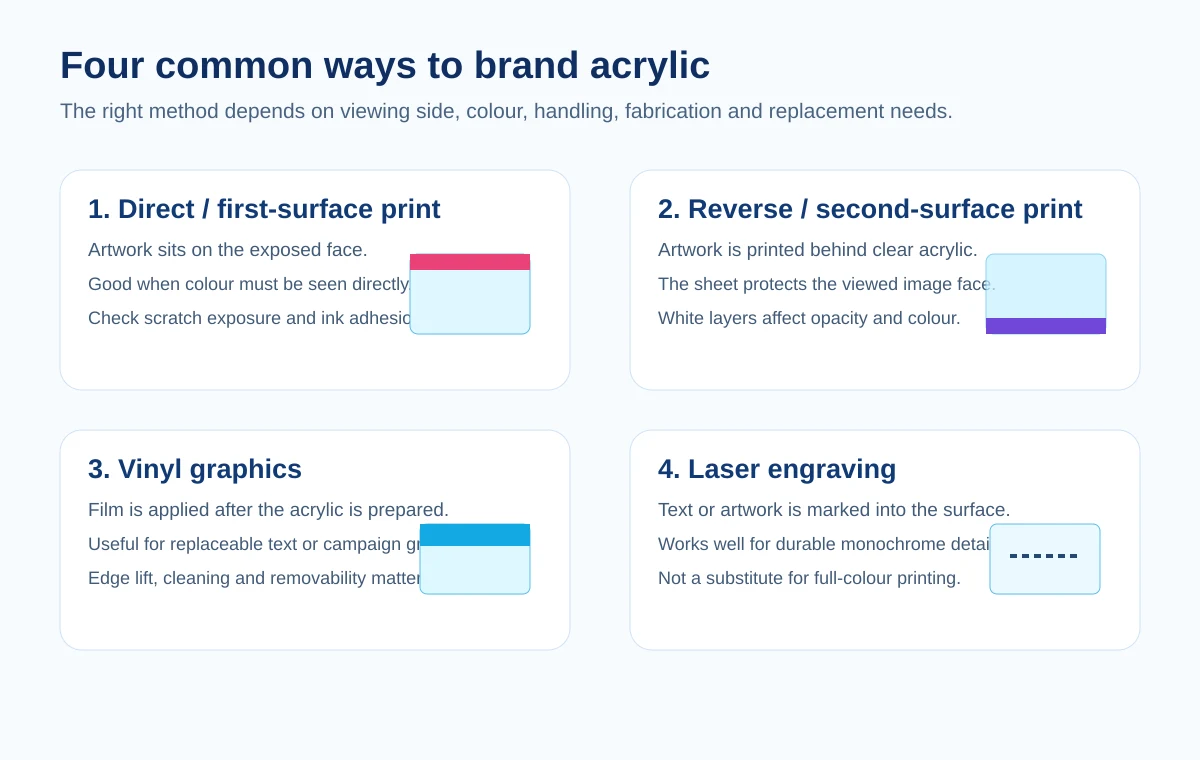
First-surface and second-surface printing are not the same
The first question is simple: will the printed layer sit on the face people can touch, or behind a clear sheet?
First-surface printing
With first-surface printing, the artwork is printed on the visible face. The colour is not viewed through another layer of acrylic, so the appearance is direct. This can suit coloured acrylic, opaque panels, display headers and pieces where the printed surface is not likely to be rubbed repeatedly.
The exposed print also receives the cleaning, fingerprints and handling that reach the acrylic face. That makes ink adhesion and scratch resistance part of the specification. If the piece will be packed, routed, drilled or bent after printing, the production order matters as well.
Second-surface or reverse printing
Reverse printing places the artwork on the back of clear acrylic so it is viewed through the sheet. The clear face protects the viewed image from normal front-side contact and can create a deeper polished look. The artwork may need to be mirrored before printing because the customer sees it from the opposite side.
Colour planning is different too. Transparent inks can look different against a wall, a product or a light source. A white layer may be added behind selected colours when opacity is required. If the print is intended for backlighting, print density and the number of ink layers need testing with the actual light source.
Direct digital and UV-curable printing
Flatbed digital printers can place full-colour graphics directly on rigid acrylic sheets. UV-curable ink is common in this type of work because the ink is cured during printing rather than absorbed into the sheet like ink on paper.
That does not mean every acrylic surface accepts every UV ink equally. ACRYLITE publishes a digital-print acrylic grade with a surface designed to improve adhesion for UV-curable inks. Its technical guidance also notes that standard acrylic can need additional consideration for ink adhesion. For a production job, confirm the actual sheet grade, printer and ink system rather than assuming a test on one material will transfer to another.
Where direct printing works well
- Retail display headers and product graphics
- Point-of-sale panels
- Branded acrylic boxes and presentation pieces
- Office and wayfinding graphics
- Photographic or multicolour artwork
- Opaque or white-backed signs where colour coverage matters
White ink changes the result
Clear acrylic does not provide the white background that paper does. Without a white layer, light passes through unprinted and lightly printed areas. This can be useful for transparent effects, but it can also make brand colours look weaker against a dark wall or product.
Tell the printer whether the job needs spot white behind selected graphics, a complete white flood or no white ink. A small sample is worthwhile when colour accuracy, transparency or backlighting matters.
When reverse printing is the better route
Reverse printing is useful when the front face should remain smooth and easy to wipe. It is common for reception signs, menu displays, branded panels and product graphics where the clear acrylic itself forms the protective front layer.
Plan the stack before the artwork is released. A typical reverse-printed piece may involve clear acrylic, colour layers, selective or full white backing, and then a wall, product or additional panel behind it. Each layer changes what the viewer sees.
Check transparency before approving colours
Brand colours approved on a monitor may shift when seen through acrylic, especially if the sheet has a tint or the print is transparent. A physical sample under the actual room lighting gives a better answer than an on-screen mock-up.
Backlit work needs its own test
A print that looks balanced in daylight can appear too light, too dark or patchy when lit from behind. ACRYLITE’s digital-print guidance notes that print density and printed layers influence backlit results. Test the artwork with the intended light box or LED arrangement before committing to a large run.
Applied vinyl graphics
Vinyl graphics are a separate route. The colour or printed image sits on a film that is applied to the acrylic rather than printed directly onto it. This can be useful for changeable promotions, opening hours, labels, logos and projects where the graphic may need to be removed later.
Cut vinyl
Cut vinyl works well for simple lettering, logos and shapes with a limited number of colours. There is no printed background; the film itself provides the colour. Small text and sharp corners need enough film area to remain stable during application and cleaning.
Printed vinyl
Printed film handles gradients, photographs and multicolour artwork. Lamination may be considered when the graphic needs extra surface protection, but the correct film and laminate depend on the application.
Think about removal at the start
Acrylic used for seasonal campaigns may need fresh graphics every few months. In that case, ask for a film and adhesive system suited to clean removal from the selected surface. A permanent film chosen for a short campaign can make later removal slower and may leave adhesive that requires careful cleaning.
Laser engraving on acrylic
Engraving removes or alters the surface instead of adding a printed layer. It works well for logos, labels, line artwork, serial information, room names and details that should not peel away like an applied film.
Engraving is not a replacement for full-colour printing. The result depends on the acrylic type, surface, engraving settings and whether colour fill or lighting is added afterward. Cast acrylic is often selected for frosted-looking laser engraving, while the exact appearance should be tested on the actual material.
Use engraving where permanence matters
A small identification plate, product label or logo can benefit from an engraved mark because the information remains part of the acrylic surface. This is especially useful where a printed label would look too temporary.
Do not engrave before checking the smallest detail
Very thin lines, tiny text and tight gaps can lose clarity. Supply vector artwork and confirm the final physical size. A logo that is easy to read on a laptop may become crowded when reduced to a small acrylic tag.
A printed insert can be smarter than printing the acrylic
Not every job needs permanent branding on the acrylic itself. Menu holders, price displays, event signs and information stands often work better when the acrylic holds a replaceable paper or card insert.
This keeps the fabricated acrylic component in use while the message changes. It also avoids reprinting or replacing the acrylic every time a price, promotion, staff name or event schedule changes.
Plan the insert access. A tight sandwich can trap dust or make replacement frustrating. A top-loading pocket, magnetic face, slide-in slot or removable cover may suit the job better.
Surface preparation affects the finish
Printing and film application both start with a clean surface. Dust creates visible particles. Grease can interfere with ink or adhesive. Static can attract particles immediately after protective masking is removed.
PLEXIGLAS recommends cleaning the surface before writing, painting or printing. Its guidance calls for a soft, lint-free cloth, warm water and a small amount of detergent for normal cleaning. It also warns against unsuitable chemicals such as acetone. The exact cleaning method before printing should follow the acrylic and ink or film manufacturer’s instructions.
Protective masking has a purpose
Do not peel all masking early simply because the sheet will eventually be printed. The workshop may need protection during cutting, routing or transport. Digital-print acrylic products can use different masking on the printable and non-printable sides, so identify the correct print face before production.
Decide the fabrication order before printing
The sequence can affect the final result. Cutting, routing, drilling, bending, bonding and polishing may place stress on a printed surface or expose it to tools and fixtures.
For some jobs, the sheet is cut first and printed afterward. For others, a full sheet is printed and then routed. The correct sequence depends on registration accuracy, printed bleed, edge finish, protective masking and the risk of ink damage.
Leave clear areas for bonding where needed
If two acrylic parts will be bonded, do not assume adhesive should sit on top of printed ink. ACRYLITE’s technical information for its digital-print sheet advises against cementing directly to the printed surface. Mark glue lines and assembly zones in the artwork so production can keep those areas clear where required.
Bending printed acrylic needs a trial
Heat and mechanical movement can affect inks, films and printed alignment. If artwork crosses a bend, the fold line should be shown in the drawing. A trial piece can confirm whether the graphic remains acceptable after forming.
Colour accuracy, proofs and brand files
Send vector artwork and the original brand colour references whenever possible. A screenshot, social-media image or compressed JPEG is a poor production master because it may contain the wrong colours and limited resolution.
Colour on acrylic is influenced by the print system, white ink, sheet colour, viewing side, background, room light and any protective layer. If a corporate colour is sensitive, approve a physical proof on the intended acrylic rather than only a PDF.
RGB and CMYK are not physical samples
Screen colours use emitted light. Printed inks reflect light. A numeric colour value helps communicate intent, but the printed sample remains the practical approval reference for a critical brand colour.
Indoor, outdoor and cleaning conditions
Ask where the finished item will be used. Outdoor exposure introduces sunlight, heat, dust, water and stronger cleaning requirements. The acrylic grade, ink or film, mounting and print orientation all need to suit those conditions.
Do not assume that a graphic described as “UV printed” is automatically guaranteed for every outdoor application. The term describes the ink-curing process, not a universal service life. Ask what acrylic, ink or film system is proposed and what maintenance conditions apply.
Which method suits common acrylic products?
| Product | Often worth considering | Reason |
|---|---|---|
| Reception logo panel | Reverse print, direct print, engraving or applied lettering | Choice depends on depth, wall colour, touch exposure and brand finish. |
| Retail display stand | Direct print, vinyl or applied logo | Campaign duration and refilling affect whether graphics should be permanent. |
| Acrylic gift box | Direct/reverse print, vinyl or engraving | Handling, lid type and gift presentation guide the method. |
| Menu / QR stand | Printed insert, direct print or engraving | Replaceable information may favour an insert; permanent branding can stay on the acrylic. |
| Cosmetic display | Direct print, reverse print or vinyl | Brand colour, tester replacement and cleaning matter. |
| Identification plate | Engraving or durable print | Small text and long-term legibility are usually more important than photographic colour. |
Common mistakes before production
Asking for “UV print” without explaining the finish
State whether the graphic is viewed from the printed side or through clear acrylic, whether white backing is needed and whether the piece is backlit.
Sending artwork at the wrong size
Supply the final size or a scalable vector file. Confirm bleed, safe areas, cut lines, holes and bend lines separately from the visible artwork.
Ignoring future graphic changes
A permanent direct print may be wrong for a monthly promotion. A replaceable insert or removable film may reduce waste and future fabrication work.
Printing over a future glue line
Assembly may require unprinted bonding zones. Share the fabrication drawing with the artwork operator before printing.
Approving colour only on screen
Critical brand colours should be tested on the intended acrylic, especially for transparent, reverse-printed or backlit work.
Using harsh cleaner on the finished graphic
The cleaning method must suit both the acrylic and the printed or applied layer. Tell staff which side carries the graphic and what cleaning products are acceptable.
What to send for an acrylic printing quotation
- Finished product or acrylic part required
- Overall dimensions and acrylic thickness, if already specified
- Quantity
- Clear, coloured, frosted, mirrored or other acrylic preference
- Vector artwork or highest-quality original file
- Final physical artwork size
- Direct/front print or reverse/back print preference
- Whether white ink or opaque backing is required
- Whether the graphic is backlit
- Any cut lines, holes, slots, bends or bonding zones
- Indoor or outdoor location
- Expected handling and cleaning
- Whether graphics must be removable or replaceable
- Delivery or installation location
- Required completion date
Sources checked for print and material behaviour
These sources support the general printing, surface-preparation and digital-print points in this guide. A production job still needs the technical information for the exact acrylic grade, ink, film and fabrication process being used.
- PLEXIGLAS: writing, painting, printing and engraving on acrylic
- ACRYLITE digital-print acrylic and UV ink adhesion
- ACRYLITE digital-print FAQ, including first- and second-surface printing
- ACRYLITE painting and printing fabrication guidance
Questions that matter before the artwork is released
Can you print a full-colour photo directly on acrylic?
Yes, full-colour digital printing is one method used on suitable acrylic sheets. The exact sheet, printer, ink, white layer and finish should be tested for the application.
What is reverse printing on acrylic?
Reverse or second-surface printing places the artwork on the back of clear acrylic so it is viewed through the sheet. The artwork may need to be mirrored, and white backing may be used where opacity is required.
Is engraving better than printing?
Neither is automatically better. Engraving suits permanent line detail, labels and logos, while printing handles full colour and photographic artwork. The intended appearance and use decide the method.
Can vinyl be applied to acrylic?
Yes. Cut or printed films are commonly applied to smooth acrylic. The film and adhesive should suit the surface, exposure and whether the graphic must later be removed.
Can printed acrylic be laser cut or routed afterward?
Sometimes, but the production sequence must be planned. Cutting or routing can affect printed edges, registration and ink adhesion. Share the cut file and print artwork together before production.
Can printed acrylic be backlit?
Yes, with the right print build. Print density, white layers, acrylic colour and the light source all affect the result, so a sample is useful before a large backlit job.
What file format should I send?
Vector AI, EPS, SVG or print-ready PDF is useful for logos and line artwork. High-resolution raster files may be used for photographs. Supply the original artwork rather than a screenshot where possible.
What information is needed for a quotation?
Send the product dimensions, quantity, acrylic preference, artwork, print size, viewing side, white-ink or backlighting requirements, fabrication details, location, handling needs and deadline.
Do one last production check on the actual acrylic
Before approving artwork, print the production drawing and mark the viewed side, print side, cut lines, bends, holes, glue zones and any areas that must remain clear. If colour or transparency matters, judge a physical sample on the intended acrylic instead of relying on a screen.
For made-to-order acrylic products, visit the acrylic fabrication service. The acrylic signage page covers branded signs and reception applications, while the display stands page covers retail and promotional displays. For permanent marked details, see the laser cutting and engraving service.
Have artwork and a fabricated part that need to work together?
Attach the original artwork and product drawing together. That gives the production team one reference for print position, fabrication, lighting and assembly.